Walkthrough of MySQL backup processes Using Linux and CodeGuard
Creating backups for your website data is a tedious and time-consuming process — and that’s without the human errors that could result from pressing the wrong key or forgetting to create a backup. You can choose to schedule MySQL auto backups to make the process simpler and more efficient by using scripts such as automysqlbackup. You can also opt for automation tools like CodeGuard that are simple to set up, easy to use, and come packed with features such as malware scans to keep your data secure.
Get CodeGuard for Only $1.63/Month!
Schedule Automatic FTP Backup with CodeGuard. Buy it Today and Save Up to 50% With SectigoStore!
Shop NowMySQL Scheduled Backup: AutoMySQLBackup
MySQL scheduled backups can be done using AutoMySQLBackup. Follow the steps below to install and configure the package according to your needs:
- To automatically back up your database you will first need to install the automysqlbackup package.
$ wget http:// ufpr.dl.sourceforge.net/project/automysqlbackup/AutoMySQLBackup/AutoMySQLBackup%20VER%203.0/automysqlbackup-v3.0_rc6.tar.gz$ tar zxvf automysqlbackup-v3.0_rc6.tar.gz- Once the installation is complete, run the install.sh script with root privileges.
- Once the setup is complete, navigate to the “/etc/automysqlbackup/” directory to edit the myserver.conf file and modify it based on your preferences. You can uncomment the settings, schedule backups, insert database names, etc. as required.
You can execute automysqlbackup in a variety of ways. You can create a script “runmysqlbackup” using the following lines of code:
#!/bin/sh/usr/local/bin/automysqlbackup /etc/automysqlbackup/myserver.confchown root.root /var/backup/db* -Rfind /var/backup/db* -type f -exec chmod 400 {} \;find /var/backup/db* -type d -exec chmod 700 {} \;Save it to your /etc/cron.daily folder and make sure it has executable file permissions. Set file permissions using the following command: chmod +x /etc/cron.daily/runmysqlbackup.
Make MySQL Auto Backup Easy with CodeGuard
CodeGuard is an automated backup solution for keeping copies of your website data securely on the cloud. It safeguards you from experiencing massive downtime for issues relating to data loss and acts like an undo button. If something goes wrong with your site while you’re using CodeGuard, you can revert your website to the last clean version with a single click.
CodeGuard accesses your site either through the FTP/SFTP protocol or through a WordPress plugin. Based upon how you choose to set it up, it can back up a few files, copy the entire website, or only make a copy of the data that has changed.
MySQL auto backup can be done using CodeGuard, log in to your CodeGuard dashboard, and follow the steps mentioned below:
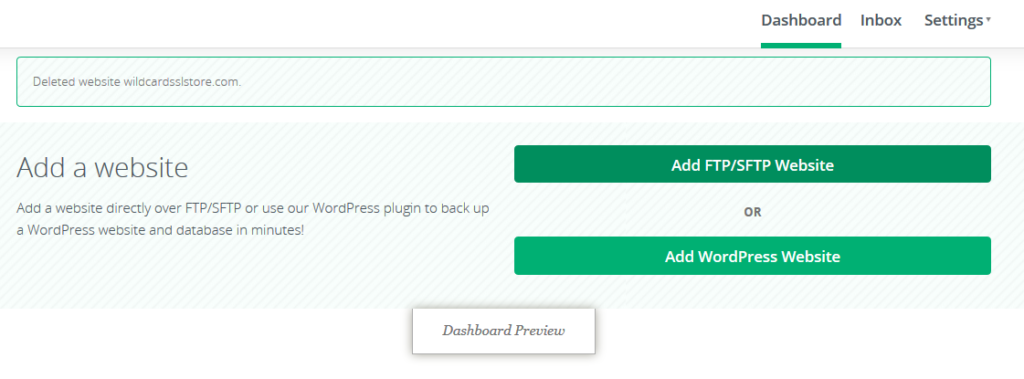
Step 1: Choose Your Backup Option
Using a WordPress plugin is a possible option, but it is recommended to use the FTP/SFTP option.
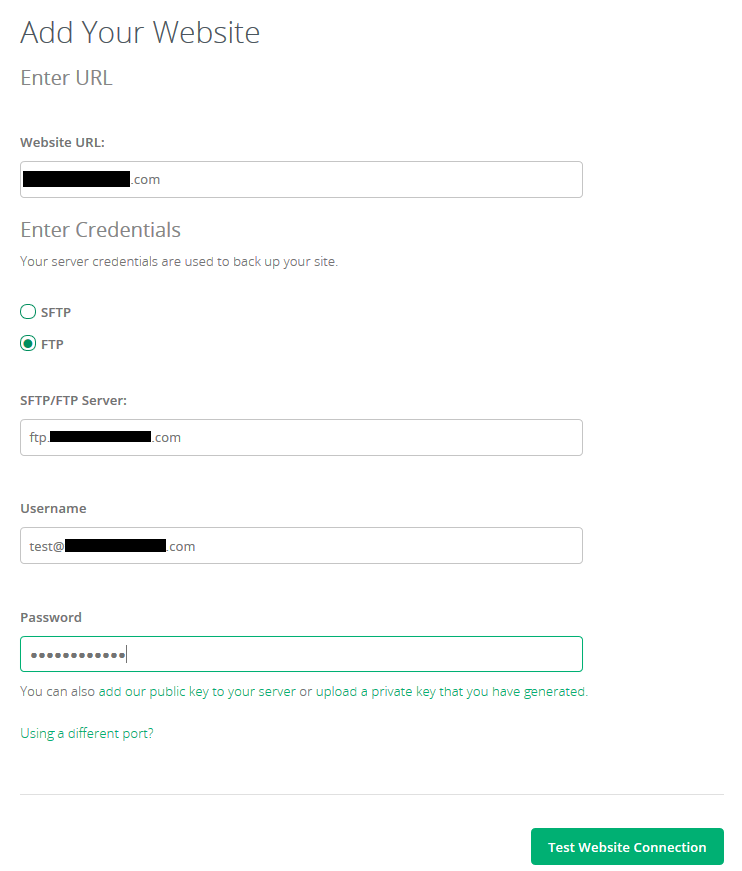
Step 2: Obtain the Required Information to Add Your Website
When adding a website using FTP/SFTP, get details from your hosting provider such as:
- the URL of the website you want to add,
- the FTP or SFTP server,
- user credentials, and
- port number.
You can find this information under settings in your hosting account. Use SFTP instead of FTP whenever possible because it’s more secure.
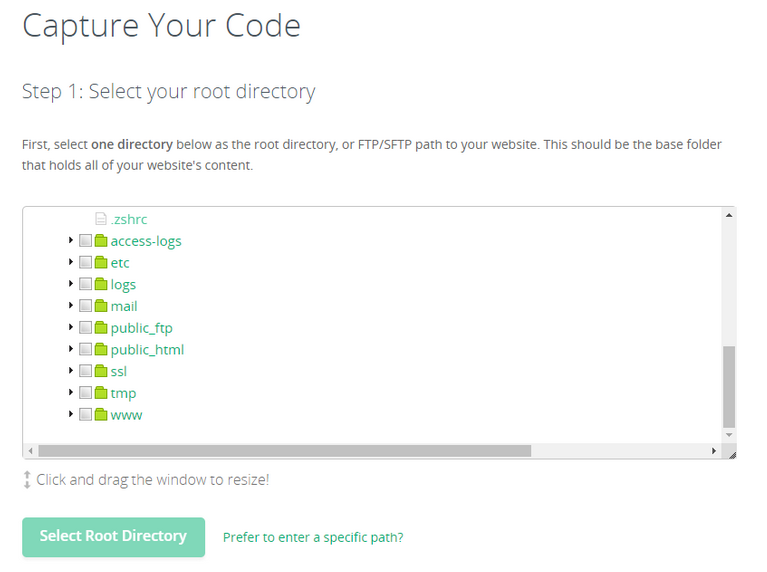
Step 3: Select Your Root Directory
Once the connection is successful, in the Capture Your Code page, select or manually specify your Root Directory.
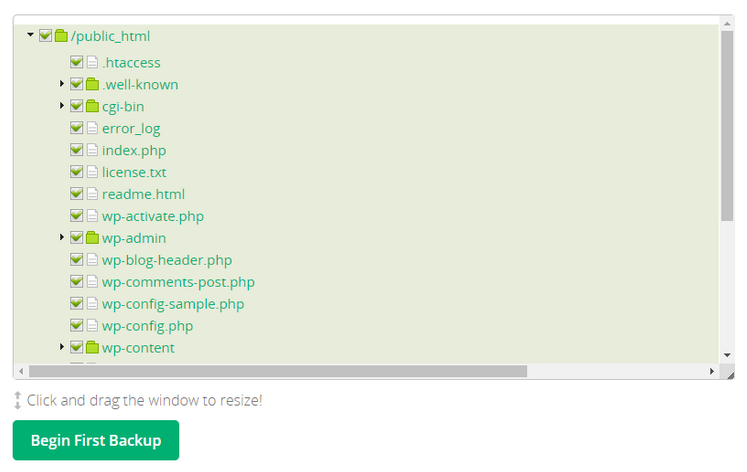
Step 4: Select the Contents to Backup
After that’s done, select the website content (specific files and folders) you’d like and click Begin First Backup.
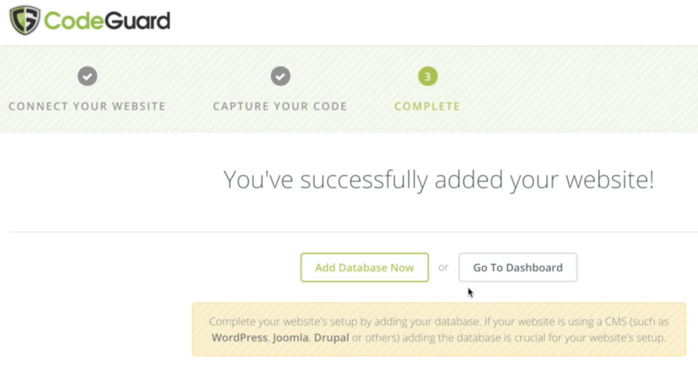
Step 5: Add a Database from the Completion Window
Once your first backup is completed, you will be taken to the completion window. From here, you can Add a Database, or you can also do it from your website dashboard. Please note, you cannot add a database without adding a website first.
Step 6: Get Database Details
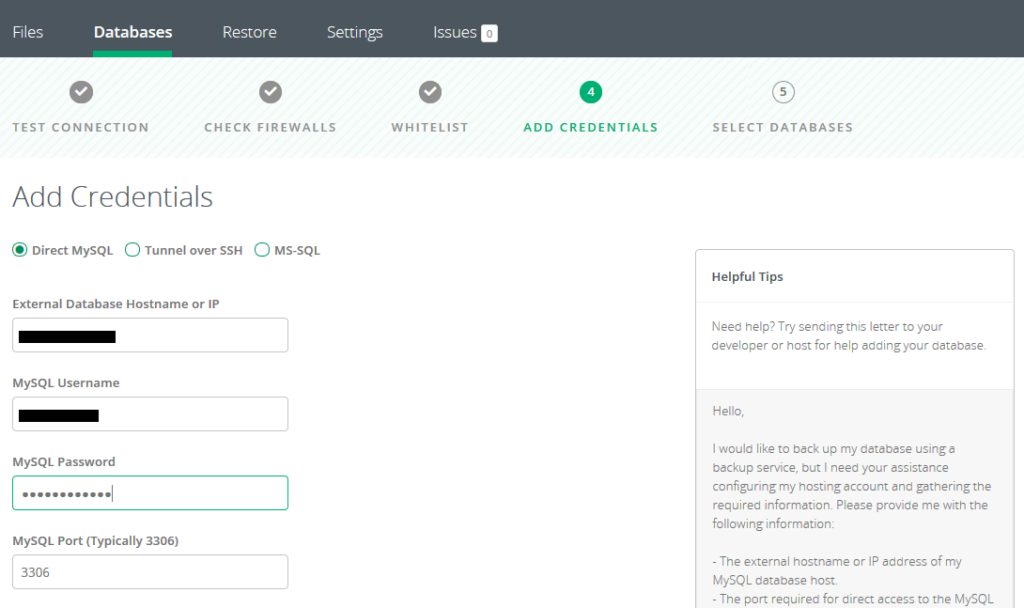
To add a database, you will require:
- a database name,
- MySQL hostname or IP,
- username,
- password, and
- the port number (default port 3306).
If you are unable to find the information in your hosting account, please contact the CodeGuard support team to help you with the details.
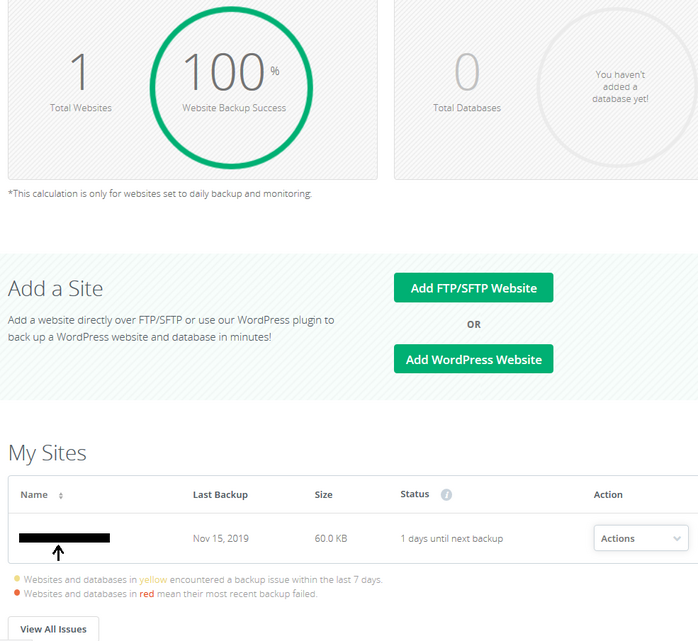
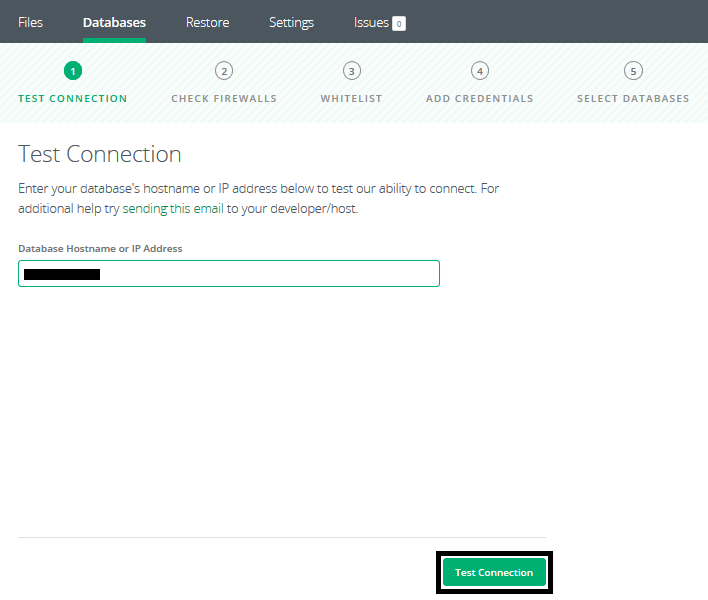
Step 7: Enter Database Credentials and Test Connection
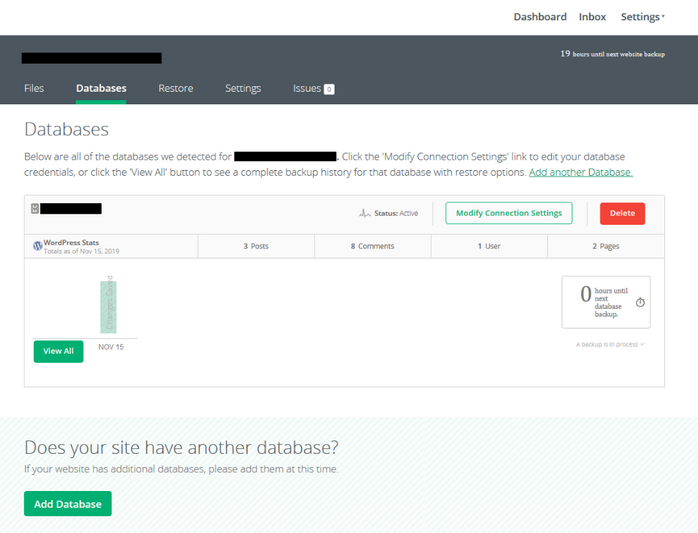
Access your CodeGuard dashboard, select the website for which you wish to add a database. This step will take you to the website’s dashboard.
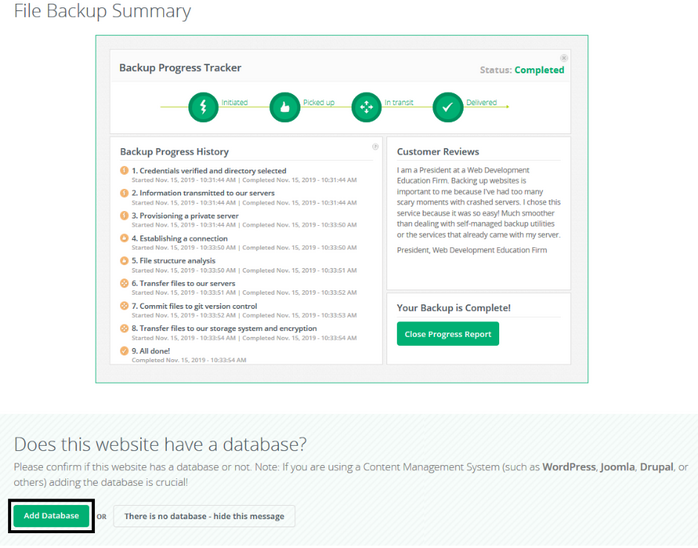
On the website dashboard, you will find an option to add your database. Once you click on it, you will be taken to the test database connection page where you need to enter your database’s IP or hostname.
Enter your credentials to access your database.
In the next section, select the databases you want to add, click on Add Database, and you’re done!