(34 votes, average: 4.88 out of 5)
Creating backups to increase your site’s redundancy is a smart move in the face of a disaster. This is why most website admins build and download an offline version of their website data every single day for recovery. However, this traditional method of doing things has two major drawbacks. For one, it’s effort-intensive (i.e., not lazy-proof), and two, you lose all your recent data if your website crashes before you have a chance to create your daily backup!
In this article, we’ll look at how to back up your website’s backend MySQL database in Linux or Ubuntu. But for those of you who are looking for a more elegant solution, we will also cover automated backups. With automation, once you set it up, you don’t need to worry about that one time you forgot to create a backup or pushing all changes made to your website onto the recovery copy. It takes care of it for you!
Backup MySQL Database on Linux/Ubuntu
MySQL provides a command-line utility, mysqldump, that can be utilized to create backups by exporting databases as raw SQL files. You can run the command manually every day or install an automation script, like automysql backup, that will do it for you on a daily basis.
- Use the mysqldump Command:
From your terminal, without logging into your MySQL console, execute the command using the basic syntax:
$ mysqldump -u [username] -p[password] [database_name] > [backup_file_name].sql
Note that there is no space between -p and the password you input.
- Back-Up a Single Table
You can also back up the data of an individual table directly onto a text file using the general syntax mentioned below:
Select * Into Outfile 'table_backup_file' From name_of_table;
- Restore MySQL Database:
To restore your database from the backup you created in the previous step, log in to MySQL console by entering your credentials:
$ mysql -u [username] -p
Once you’re logged in, type the following command to restore the database, modifying the parameters as required:
$ mysql -u [username] -p[password] [database_name] < [backup_name].sql
- Automate the Backup Process:
To automatically back up your database, you will first need to install the automysqlbackup package. To do this, use the following command:
$ sudo apt-get install automysqlbackup
The script will run automatically on a daily basis, and backups will be stored under the “/var/lib/automysqlbackup” directory. Additionally, you can create a crontab entry to run automysqlbackup at any particular time.
To view the contents of the daily backup folder, run the following command:
$ sudo ls -a /var/lib/automysqlbackup/daily
If you’d like to modify any configurations or add customizations to the utility, you can edit the file located at “/etc/default/automysqlbackup” by executing the command below:
$ sudo nano /etc/default/automysqlbackup
To create on-demand backups, run the command manually, as shown below:
$ sudo automysqlbackup
CodeGuard Website Backup & Restore
As an automated backup solution for website data, CodeGuard safeguards you from experiencing massive downtime for issues related to data loss. It acts like an undo button or an autosave checkpoint in a game, except it works for your website and associated databases. In case of any buggy developmental updates, crashes, etc., you can revert to the last clean version with a single click.
Let’s look at how to back up your MySQL Database using CodeGuard:
How to Automatically Schedule Your Backups with CodeGuard
CodeGuard can back up your site either through FTP/SFTP or using a WordPress plugin. You can set it up to back up a few files, copy the entire website, or only make a copy of the data that has changed.
Get CodeGuard for Only $1.63/Month!
Schedule Automatic FTP Backup with CodeGuard. Buy it Today and Save Up to 50% With SectigoStore!
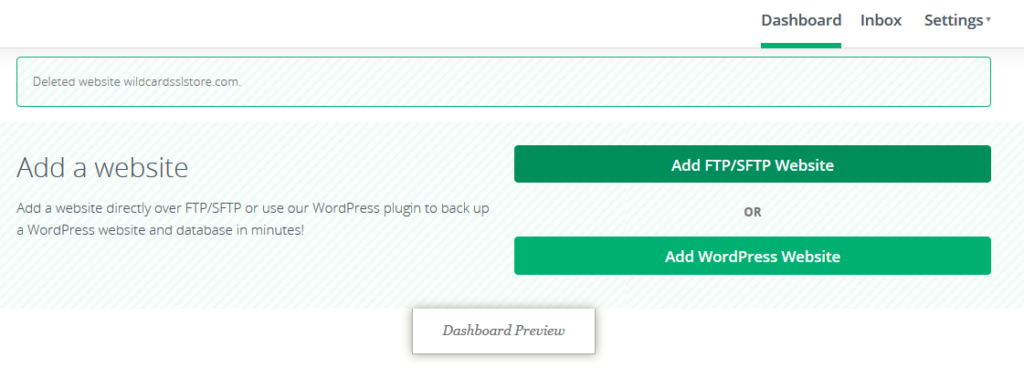
Shop NowLogin to your CodeGuard Dashboard and follow the steps below:
Step 1: Choose Your Backup Option
You can add a website to back up using a WordPress plugin or via FTP. You can use either, but it is recommended to use the FTP/SFTP option.
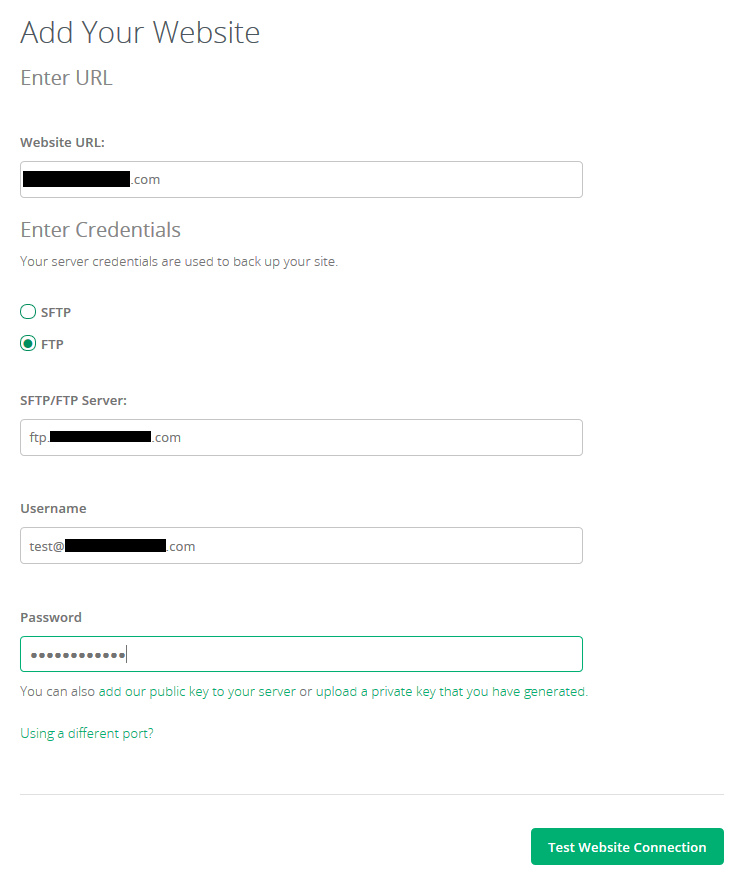
Step 2: Obtain the Required Information to Add Your Website
For adding a website via FTP or SFTP, you will need some information from your hosting provider such as:
- the URL of the website you want to add,
- the FTP or SFTP server,
- user credentials, and
- port number.
You can find this information under settings in your hosting account. It’s always recommended to use SFTP instead of FTP whenever possible, as it’s more secure.
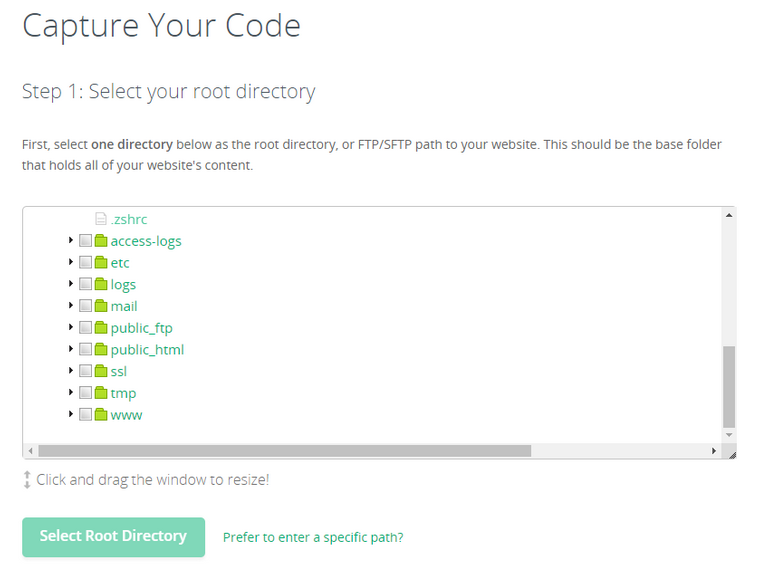
Step 3: Select Your Root Directory
If the connection is successful, the next step takes you to the Capture Your Code window, where you must select or manually specify your root directory. Next, press Select Root Directory.
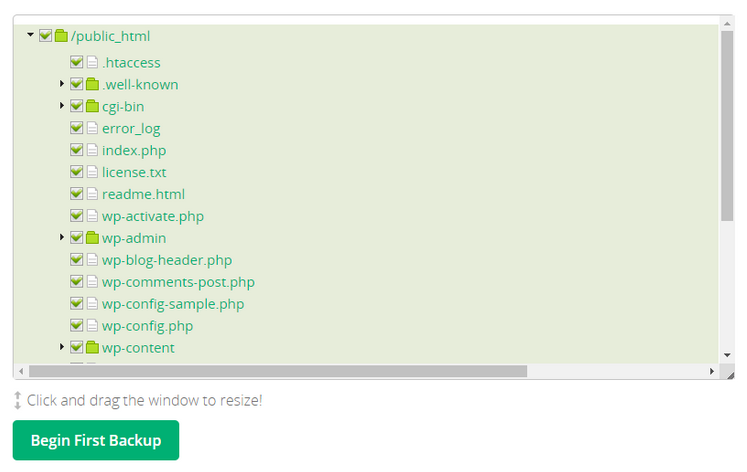
Step 4: Select the Contents to Backup
Once that’s done, select the website content (specific files and folders) that you would like to back up and click Begin First Backup.
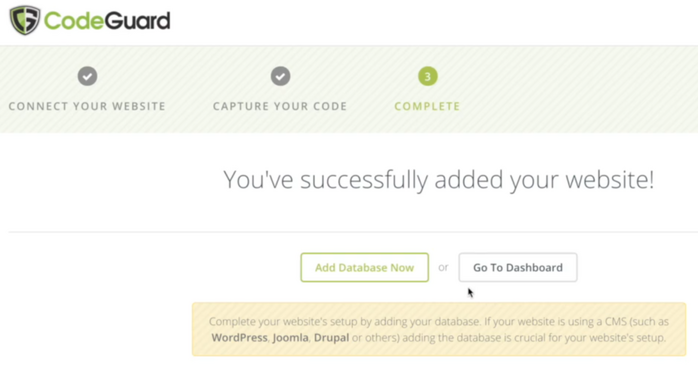
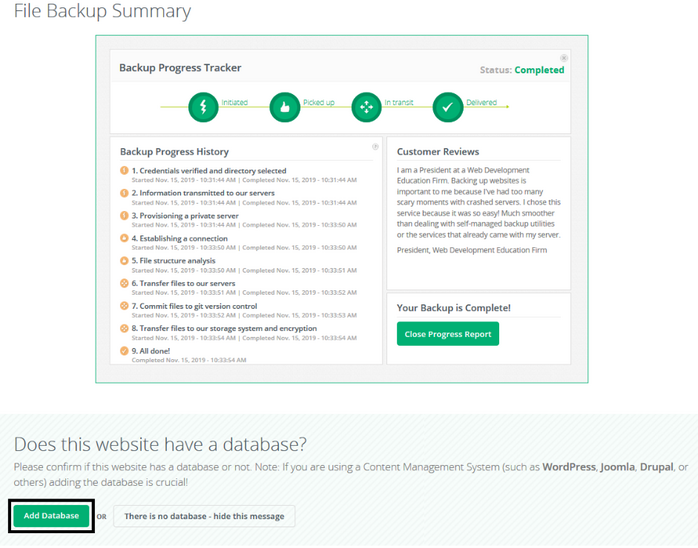
Step 5: Add a Database from the Completion Window
Once your first backup is complete, you will be taken to the completion window. From here, you can add a database to back it up, or you can also do it from your website dashboard.
Note: You cannot add a database without adding a website first.
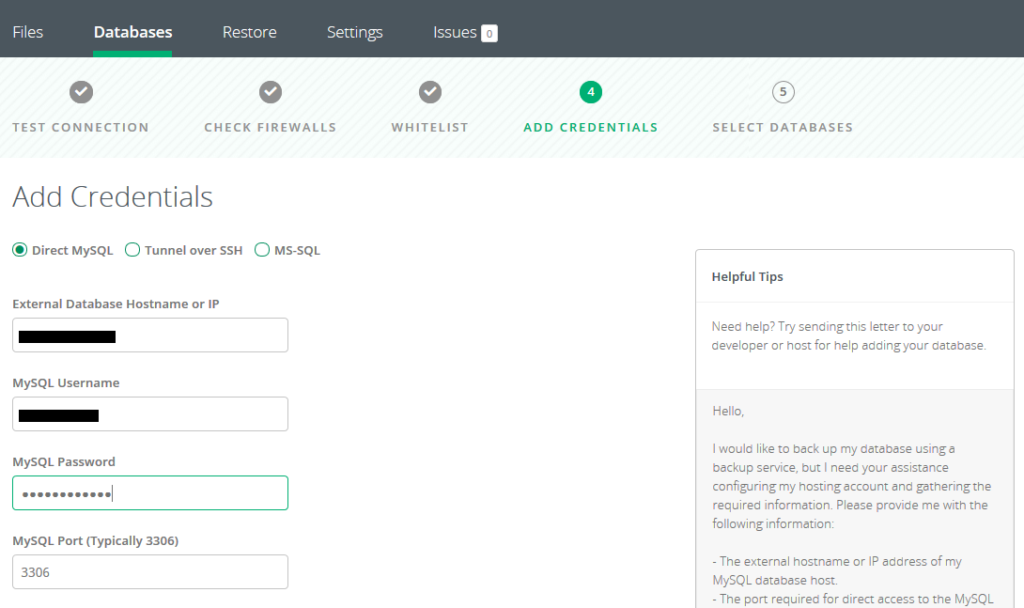
Step 6: Get Database Details
To add a database, you will need:
- a database name,
- MySQL hostname or IP,
- your username,
- your password and
- the port number.
If you are unable to find this information in your hosting account, please contact the CodeGuard support team to help you with the details. The default port number for MySQL is 3306.
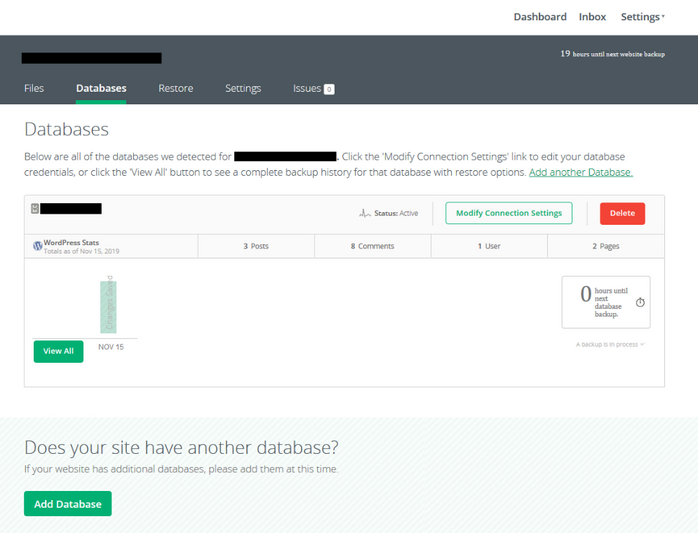
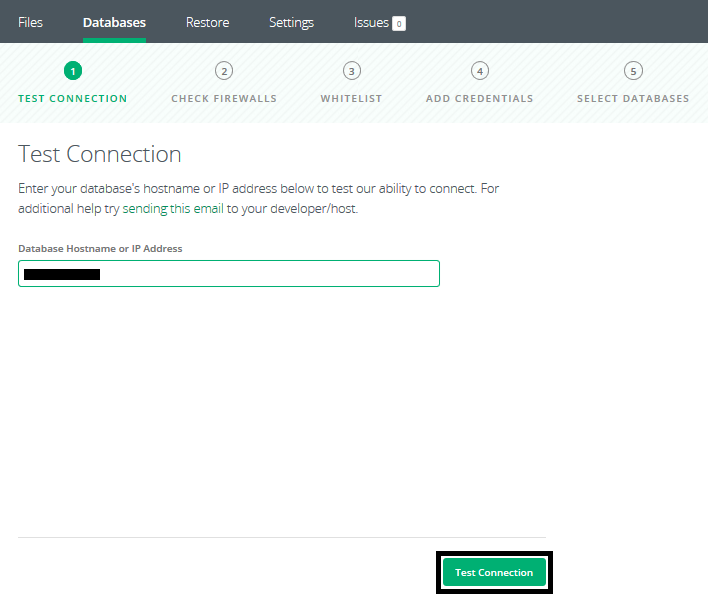
Step 7: Enter Database Credentials and Test Connection
Access your CodeGuard dashboard and select the website for which you wish to add a database. This step will take you to the website’s dashboard.
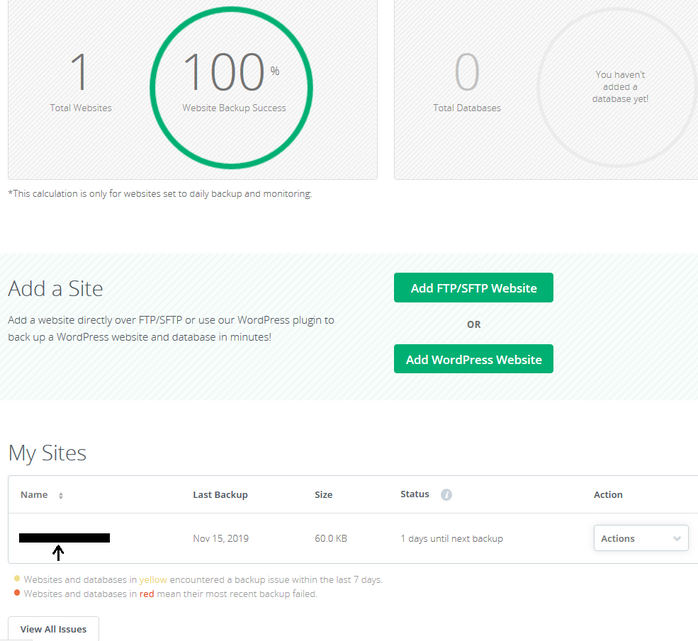
On the website dashboard, you will find an option to add your database. Once you click on it, you will be taken to the test database connection page where you need to enter your database’s IP or hostname.
Enter the credentials to access your database.
In the next section, select the databases you want to add, click on Add Databases, and you’re done!