Using phpMyAdmin can be confusing when you need to create a backup of your database. No worries — we’ve got you covered! In this article, we’ll look at how to create a backup of your MySQL database using phpMyAdmin. We’ll also discuss an alternative solution that automates the entire backup process.
Manual MySQL Backup: phpMyAdmin Backup Database
Follow the steps mentioned below to manually back up you MySQL database with phpMyAdmin:
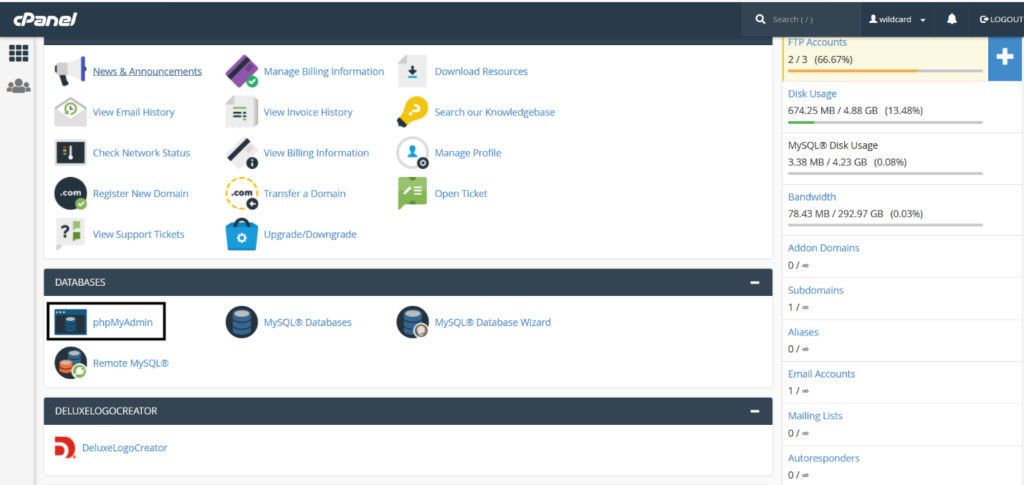
- Log in to your web hosting control panel (such as cPanel) and enter your credentials.
- Open the phpMyAdmin console from your control panel.
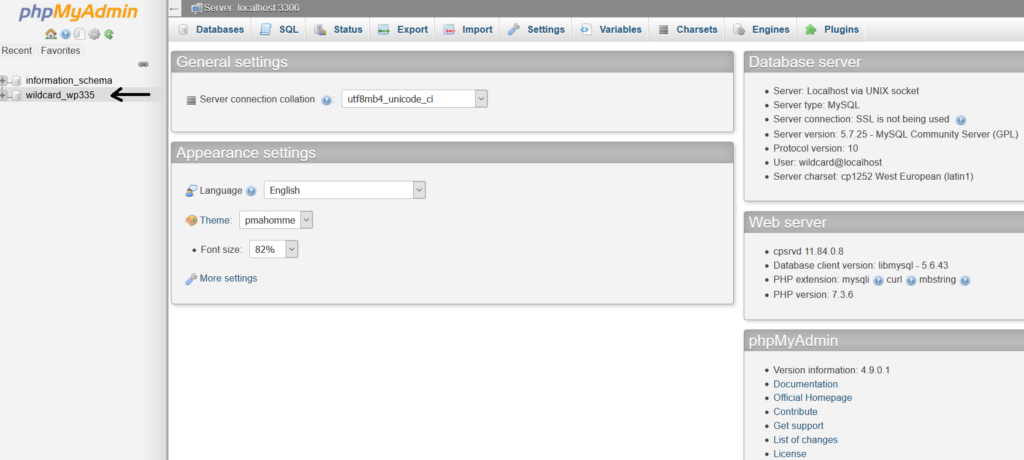
- From the sidebar navigation pane on the phpMyAdmin interface, select the database you want to backup.
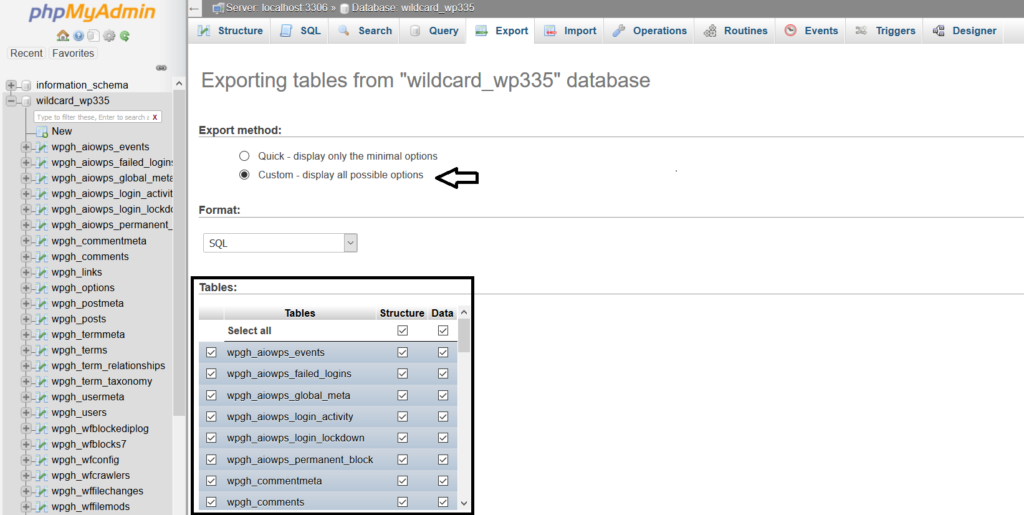
- Click on the Export tab from the top of the navigation bar.
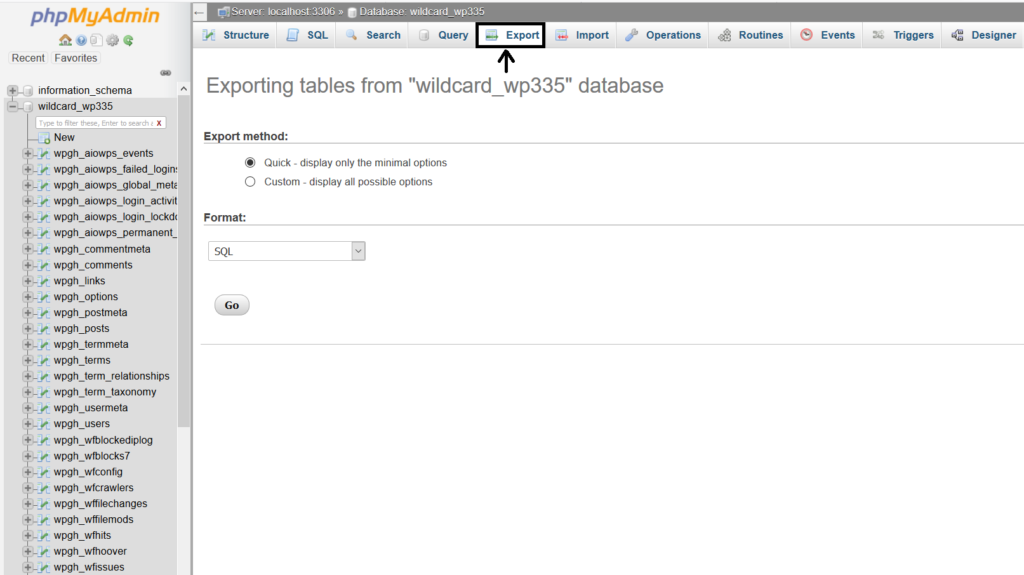
- You will find two options under the Export tab — Quick and Custom. If you choose the quick export method, click on the Go button to download the export of your database to your local machine’s default download location.
If you choose the custom option, you will get an option to select specific tables you wish to back up.
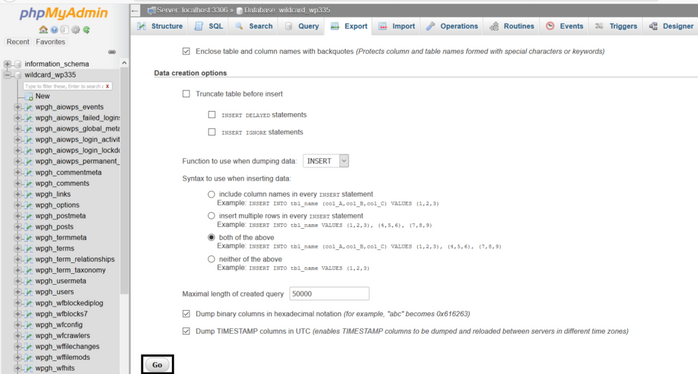
- Select the Compression option you want to choose. We have selected gzipped and kept the rest of the options unchanged.

- Your backup file will be downloaded on your local system once you click on the Go button.
Why Do We Need to Automate Our Backups?
An automatic website backup solution serves as a reliable alternative mechanism that, once set up, can run on its own — all without the need for human intervention. It takes a snapshot of your website so you can restore it with a single click in case the website breaks or you get attacked by hackers or malware. Automation makes the process convenient and hassle-free while ensuring that you aren’t left with an outdated backup.
Your hosting provider is not responsible or liable if your website gets hacked. If your backups are on the same server that hosts your website, what happens if the server crashes? Quite simply, you lose all your data, and you’re left with no backups at all. As a website owner, you need to take responsibility for your website security.
Get CodeGuard for Only $1.63/Month!
Its More than Just a Backup Tool! Get Free Malware Removal, Free AWS Storage Space, One-Click Restoration and Strong 256-bit AES encryption of Backup Files with CodeGuard!
Shop NowCodeGuard Website Backup & Restore
As an automated backup solution that keeps copies of your website data securely on the cloud, CodeGuard safeguards you from experiencing massive downtime for issues related to data loss. This Sectigo product acts like an undo button or an autosave checkpoint in a game, except it works for your website and you can revert the site to the last clean version with a single click.
Codeguard comes in five different plans with all features available across the board — the only difference being the storage space and the number of websites the user can backup. If you require more storage space, you can ask for a customized backup plan to be designed according to your needs.
Let’s look at how to back up your MySQL Database using CodeGuard:
How to Automatically Schedule Your Backups with CodeGuard
CodeGuard accesses your site either through FTP/SFTP or using a WordPress plugin. Based upon how you choose to set it up, it can back up a few files, copy the entire website, or only make a copy of the specific data that has changed.
To schedule an automatic backup using CodeGuard, log in to your CodeGuard Dashboard and follow the steps below:
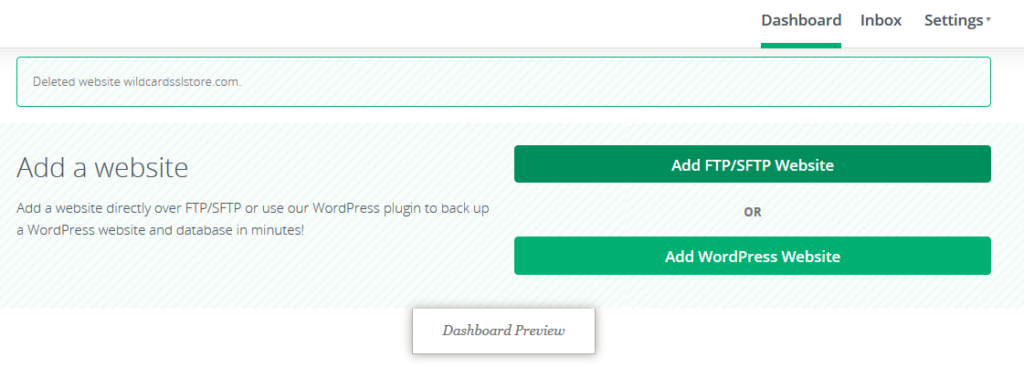
Step 1: Choose Your Backup Option
You can add a website to back up using a WordPress plugin or via FTP. You can use either, but it is recommended to use the FTP/SFTP option.
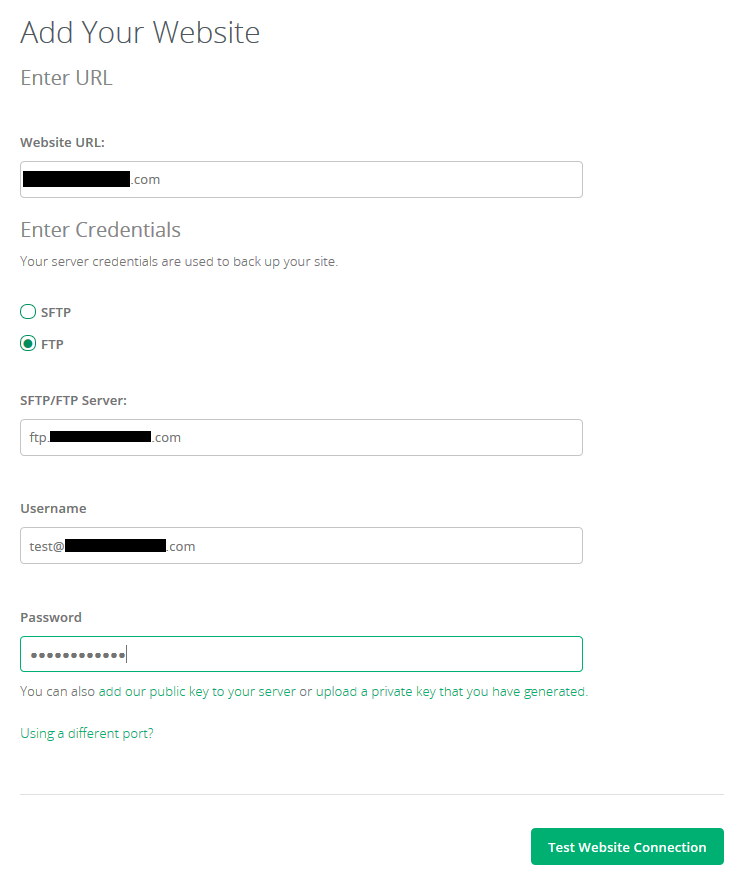
Step 2: Obtain the Required Information to Add Your Website
For adding a website via FTP or SFTP, you will need some information from your hosting provider such as:
- the URL of the website you want to add,
- the FTP or SFTP server,
- user credentials, and
- port number.
You can find this information under settings in your hosting account. It’s always recommended to use SFTP instead of FTP whenever possible as it’s more secure.
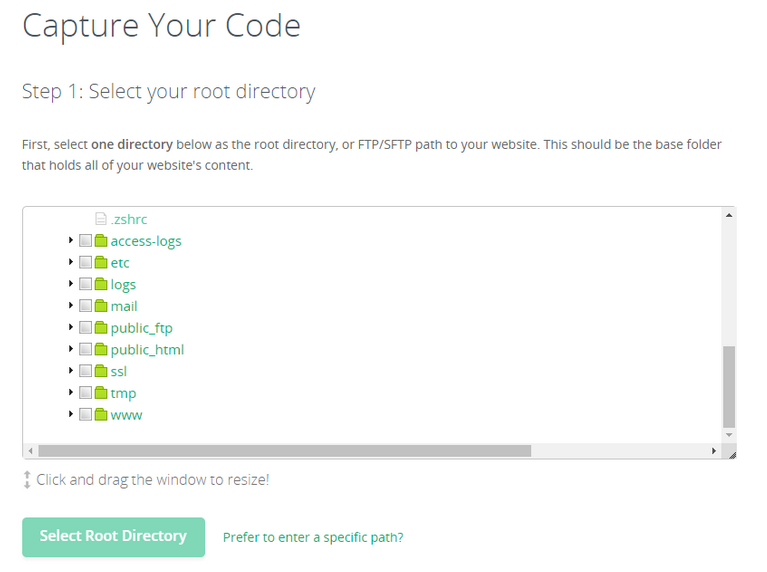
Step 3: Select Your Root Directory
If the connection is successful, the next step takes you to the Capture Your Code window where you must select or manually specify your root directory. Next, press Select Root Directory.
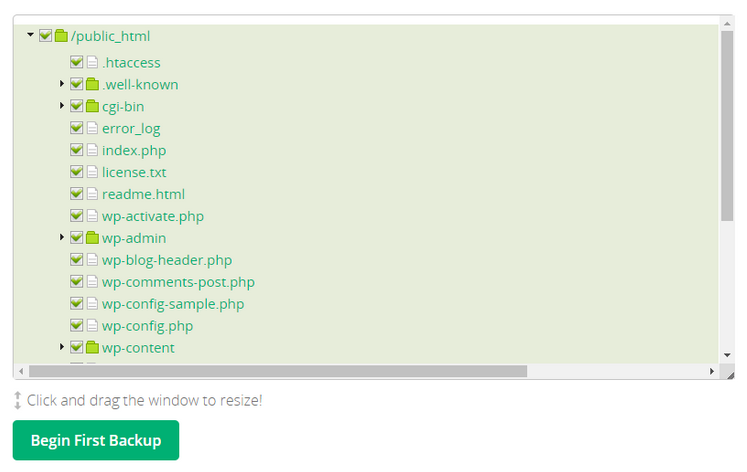
Step 4: Select the Contents to Backup
Once that’s done, select the website content (specific files and folders) that you would like to back up and click Begin First Backup.
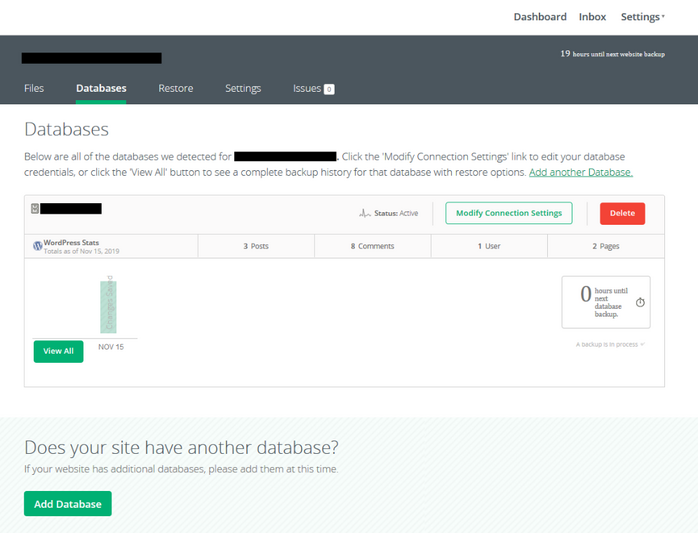
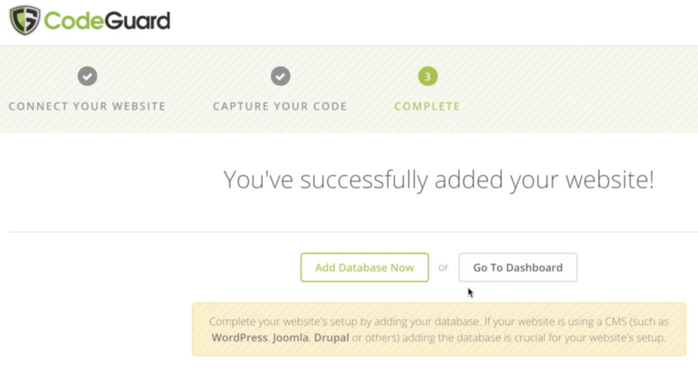
Step 5: Add a Database from the Completion Window
Once your first backup is complete, you will be taken to the completion window. From here, you can add a database to back it up or you can also do it from your website dashboard.
Note: You cannot add a database without adding a website first.
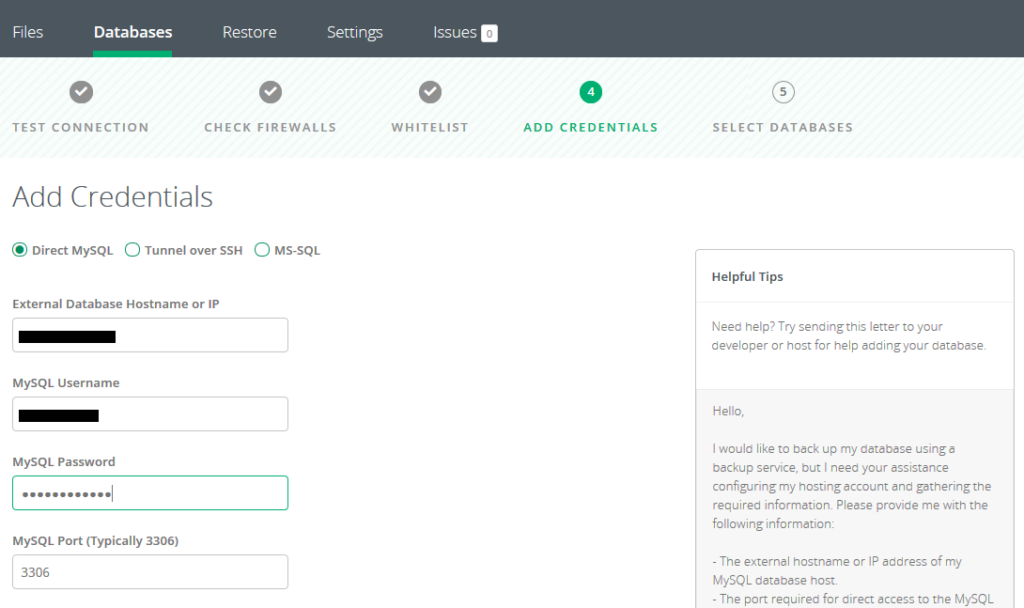
Step 6: Get Database Details
To add a database, you will need:
- a database name,
- MySQL hostname or IP,
- your username,
- your password and
- the port number.
If you are unable to find this information in your hosting account, please contact the CodeGuard support team to help you with the details. The default port number for MySQL is 3306.
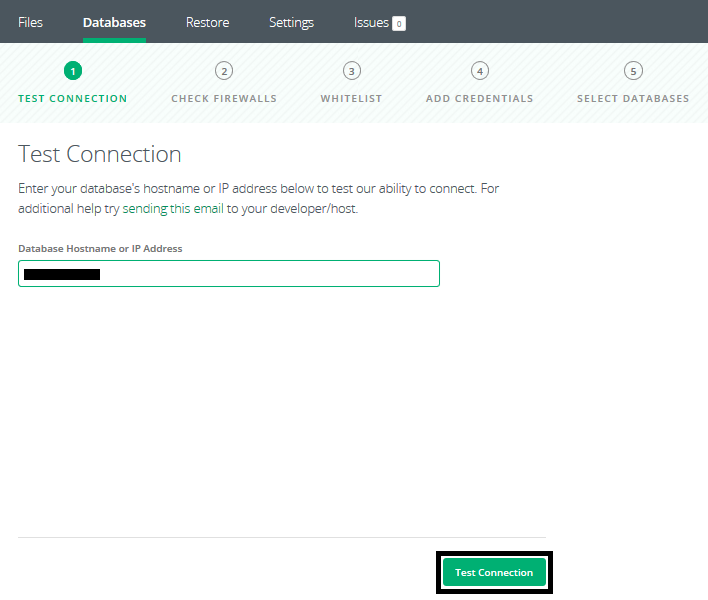
Step 7: Enter Database Credentials and Test Connection
Access your CodeGuard dashboard and select the website for which you wish to add a database. This step will take you to the website’s dashboard.
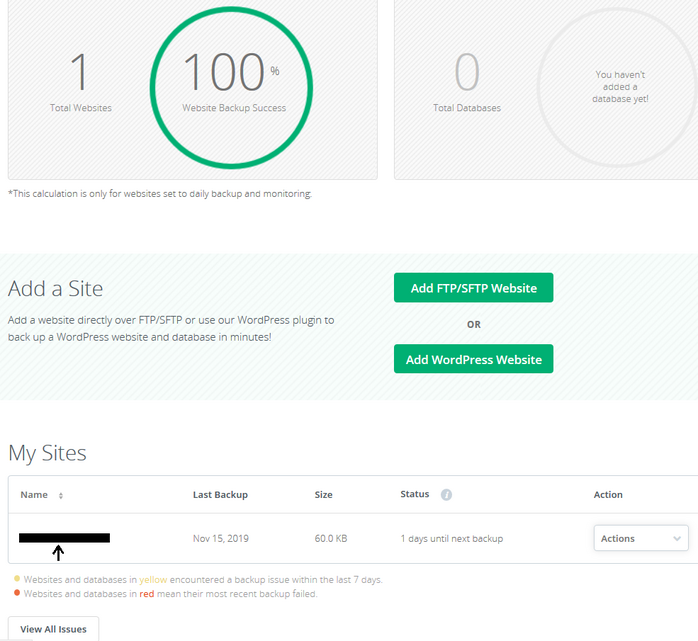
On the website dashboard, you will find an option to add your database. Once you click on it, you will be taken to the test database connection page where you need to enter your database’s IP or hostname.

Enter the credentials to access your database.
In the next section, select the databases you want to add, click on Add Databases, and you’re done!